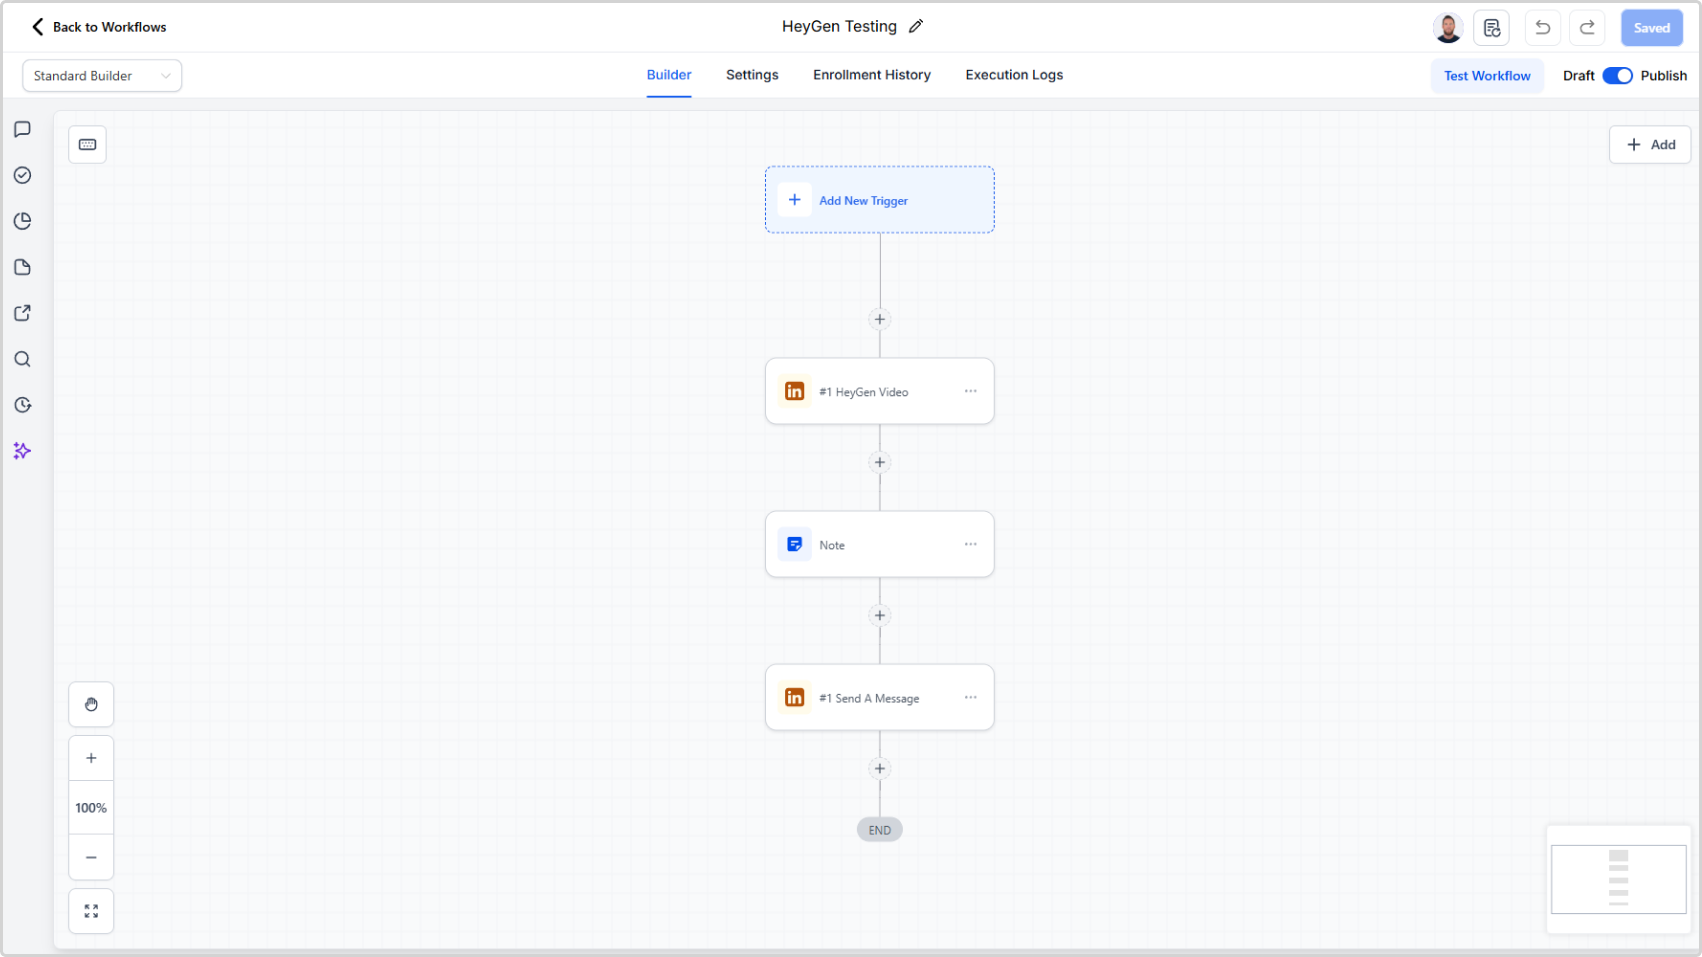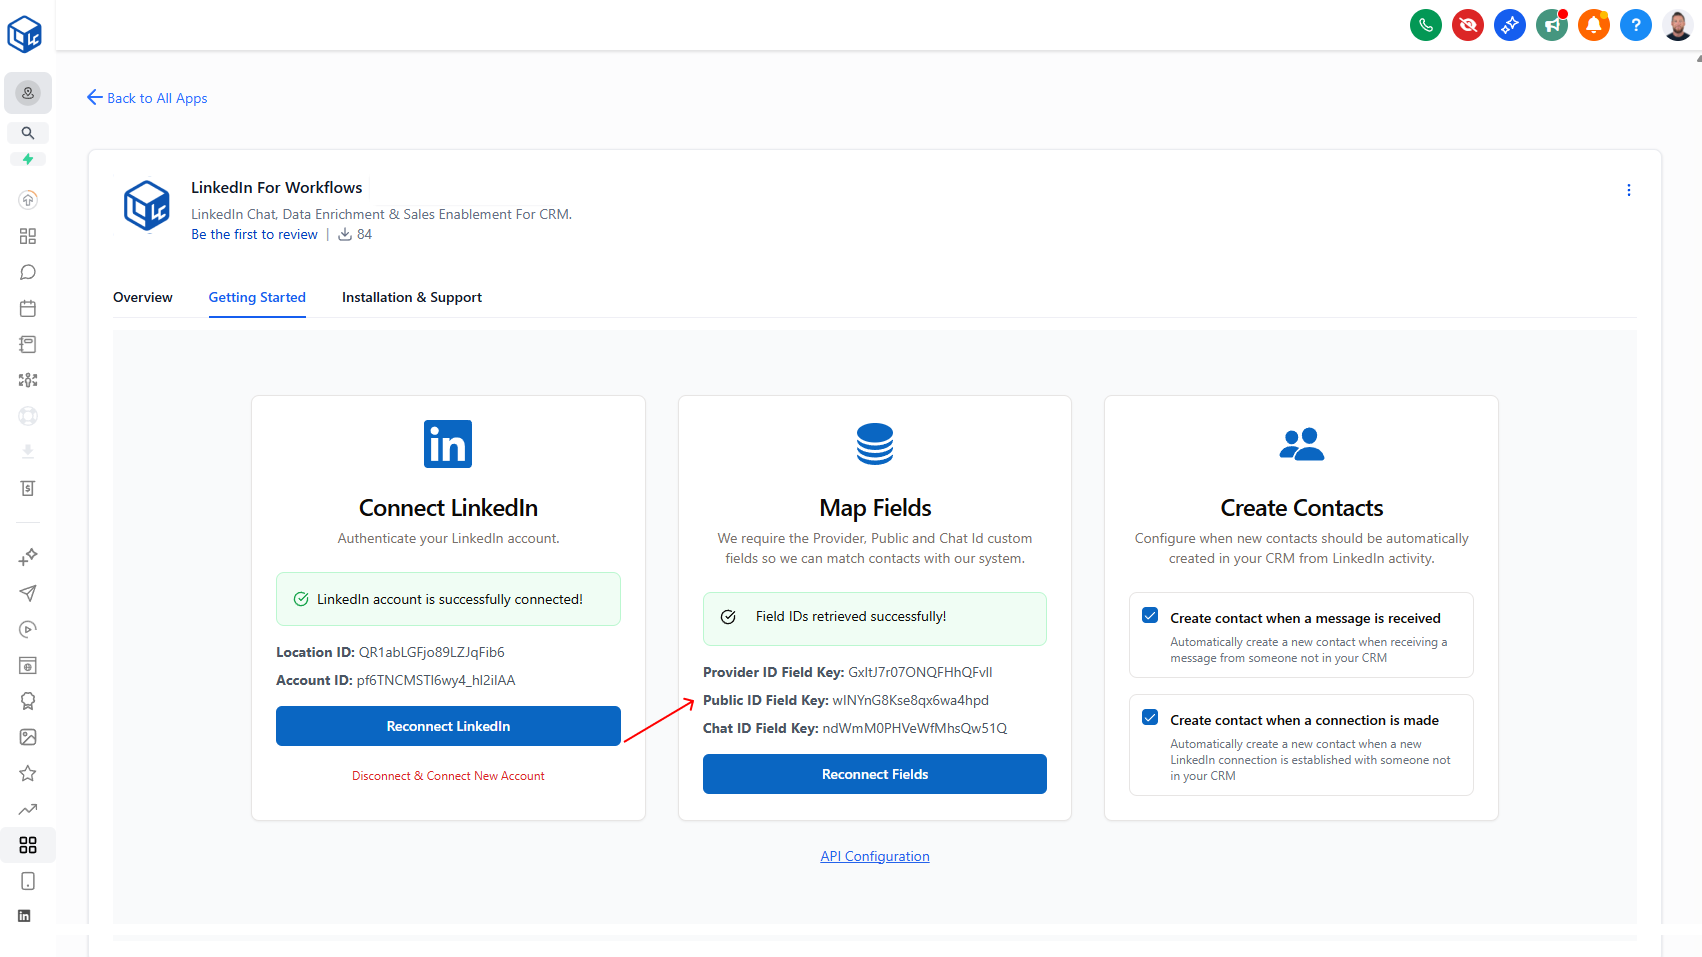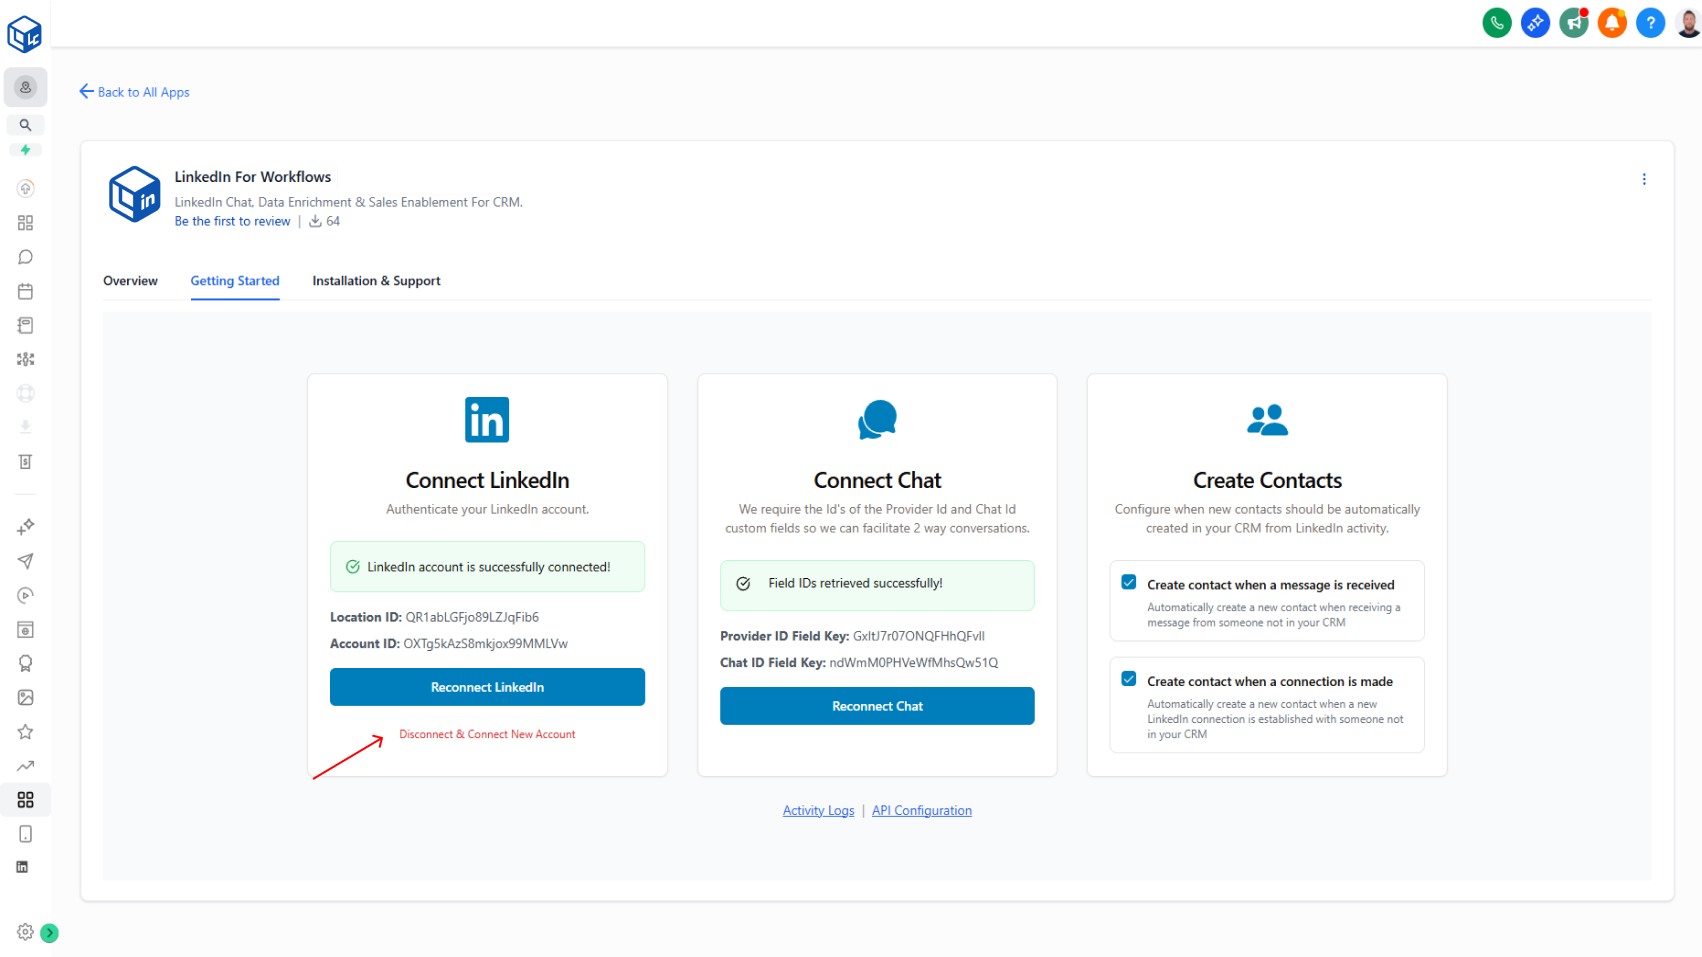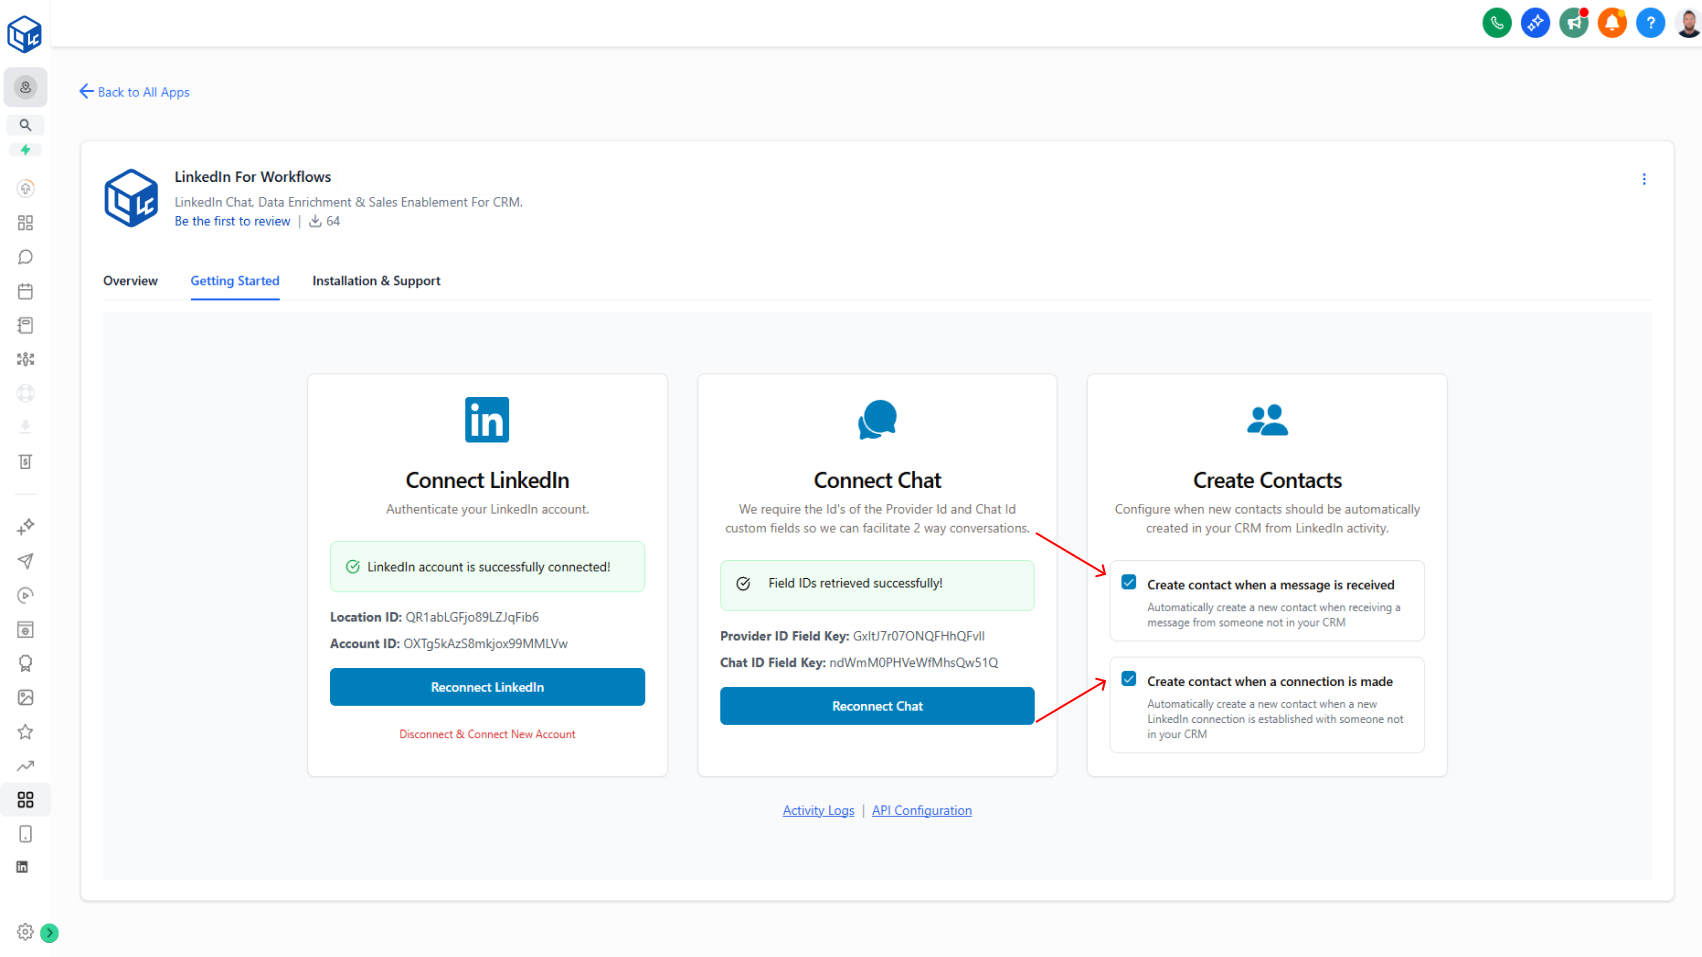
Overview
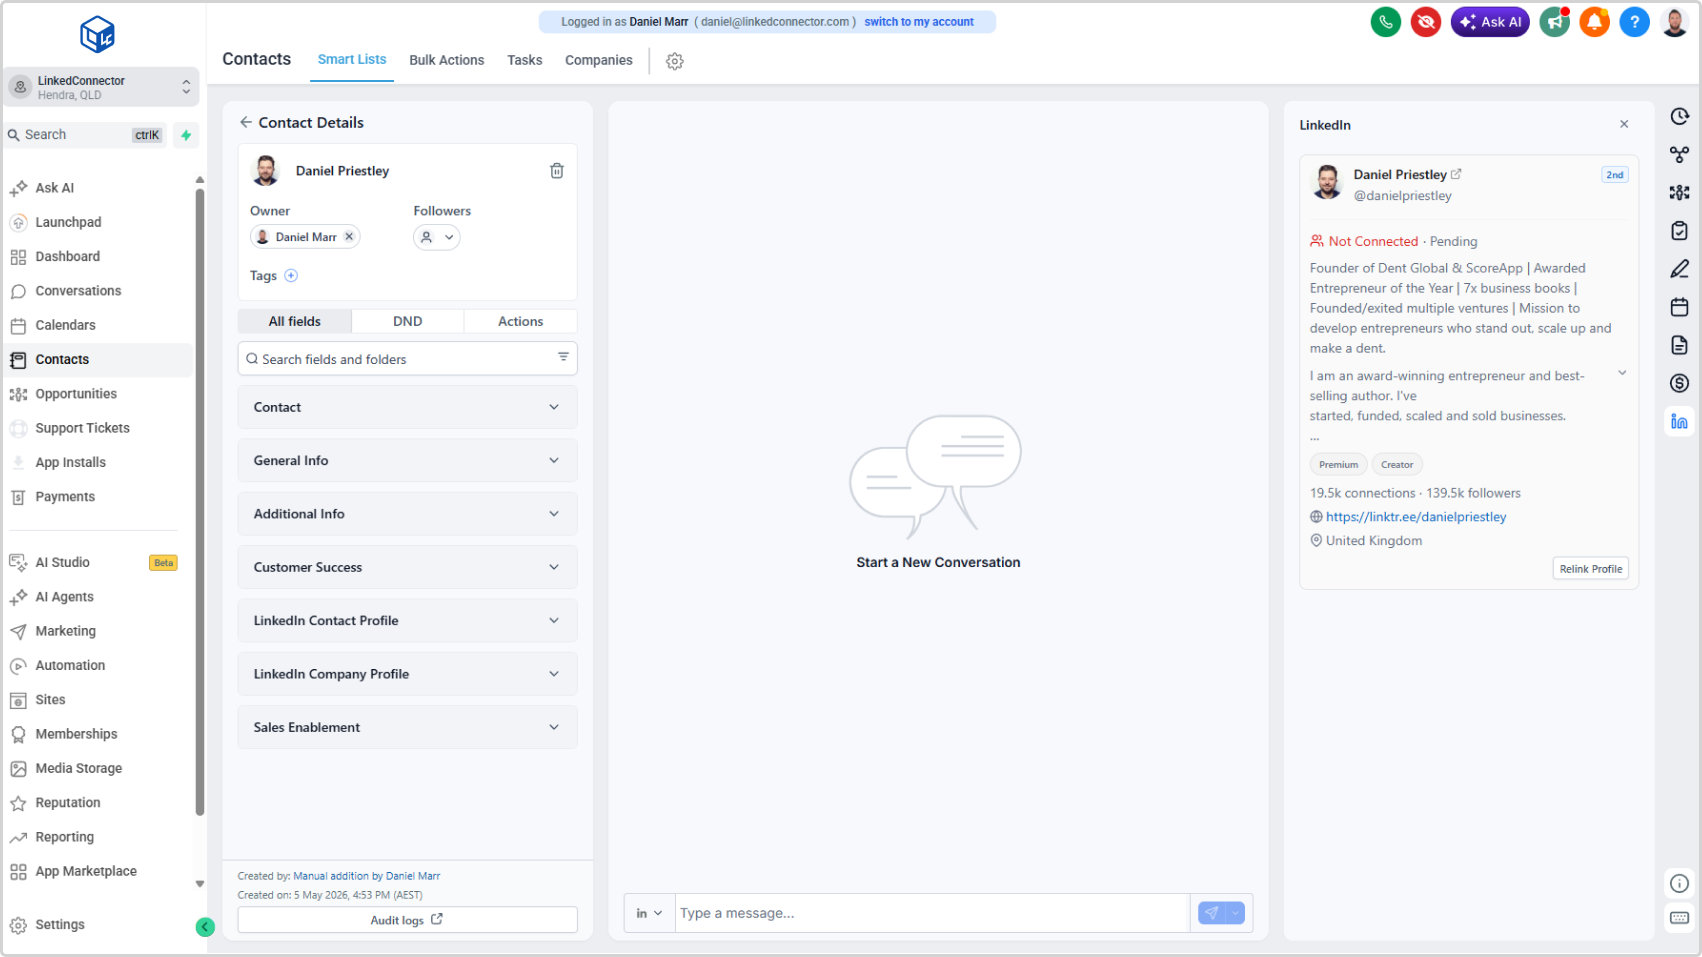
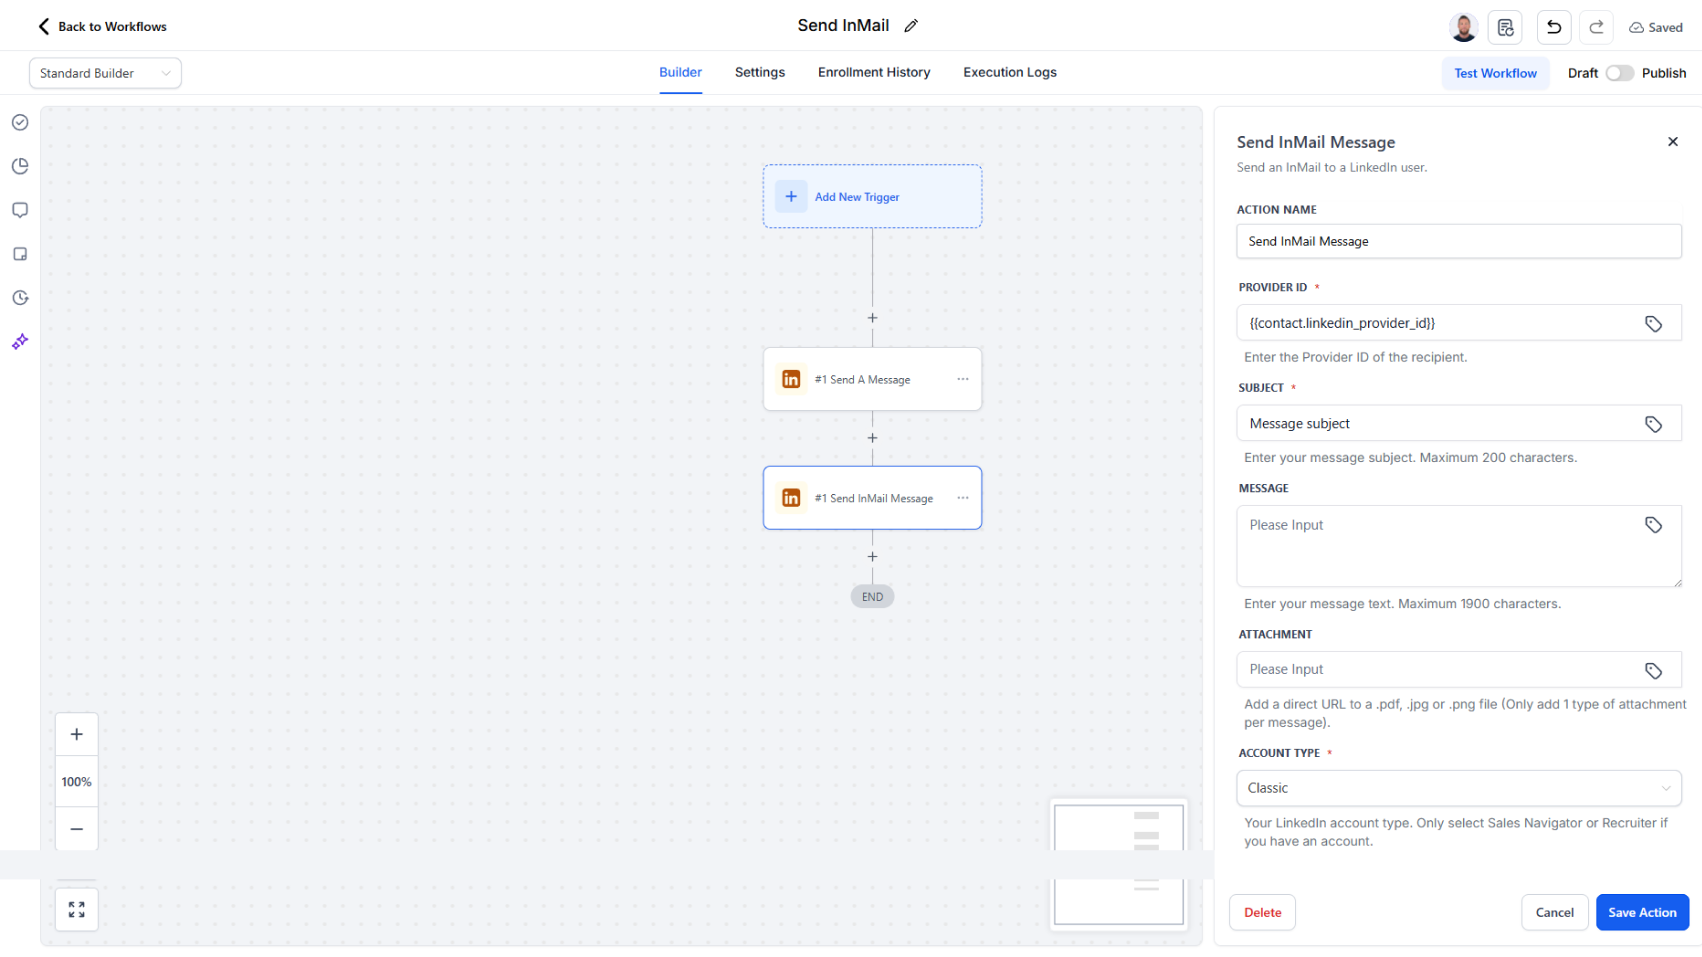
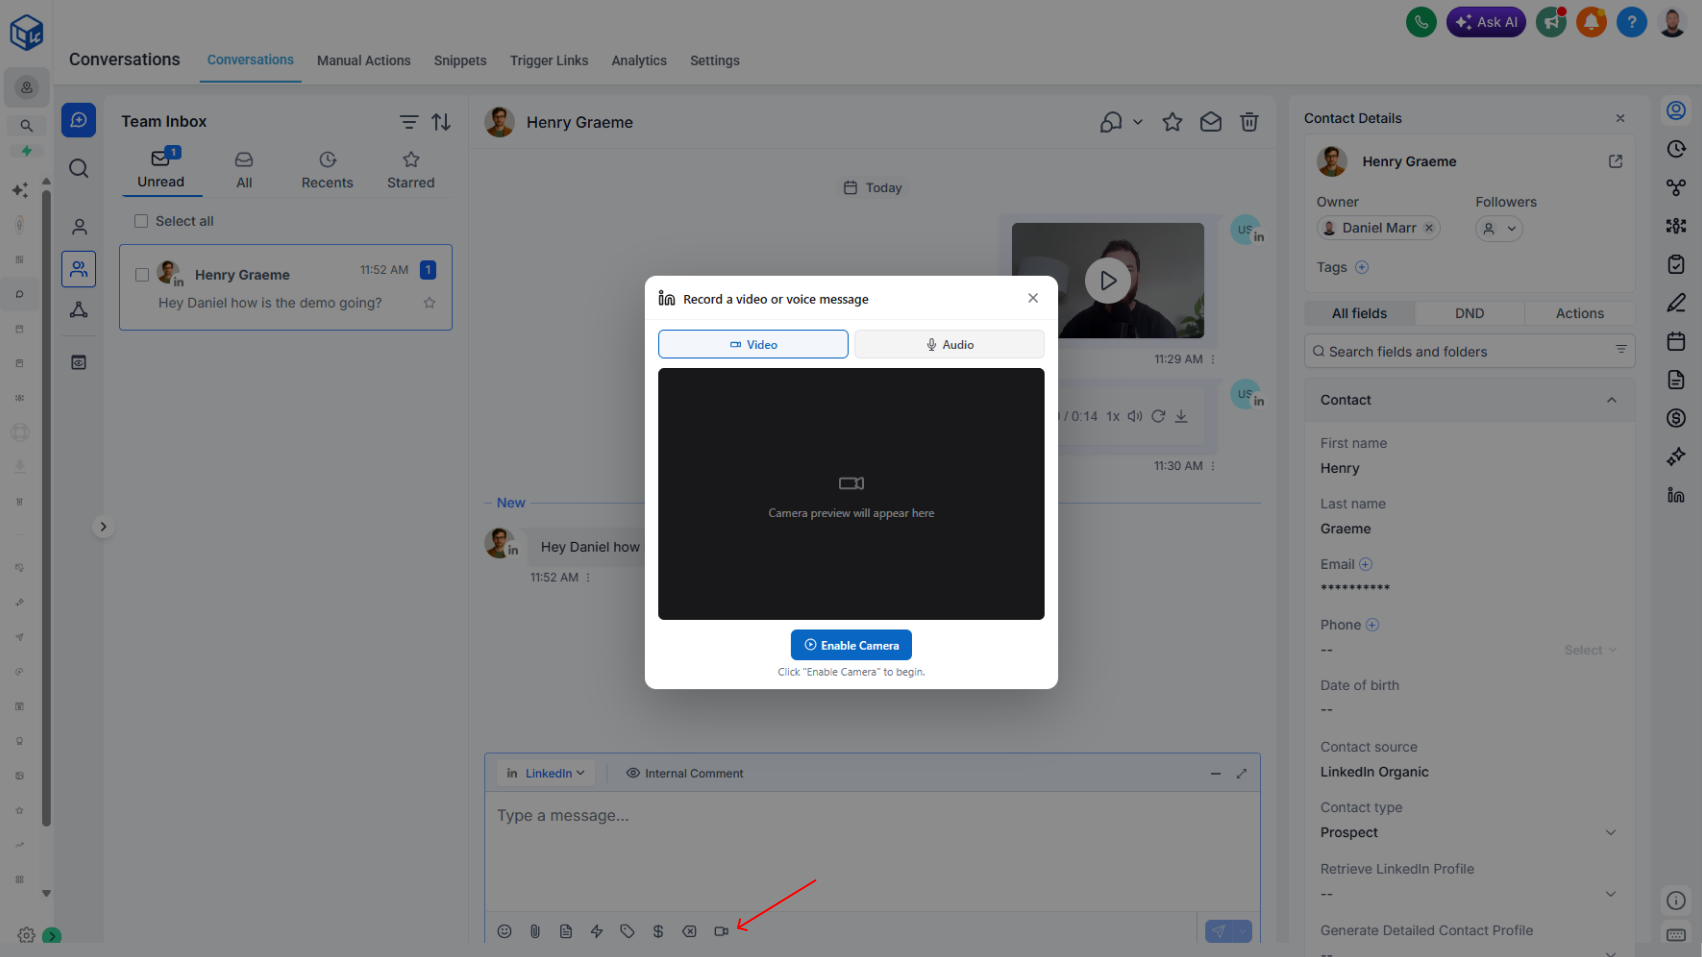
Switch to the LinkedIn messaging provider, hit record, and send. The recipient gets a native video or audio message in their LinkedIn inbox — no app-switching, no manual upload, no separate tool.
What's New
- In-app video recording in the LinkedIn message compose box
- In-app voice recording in the LinkedIn message compose box
- Native delivery — messages land as video or audio in the recipient's LinkedIn inbox
- Background processing — files are optimized automatically before sending
- Playback preview for voice messages before you hit send
Why It Matters
- Higher engagement than text — video and voice stand out in a LinkedIn inbox full of typed replies
- No app-switching — record, review, and send without leaving your CRM
- Personalized at scale — break the "another templated message" pattern with a face or a voice
- Faster than typing — say it in 20 seconds instead of typing for two minutes
Limits
- Video – up to 30 seconds
- Voice – up to 40 seconds
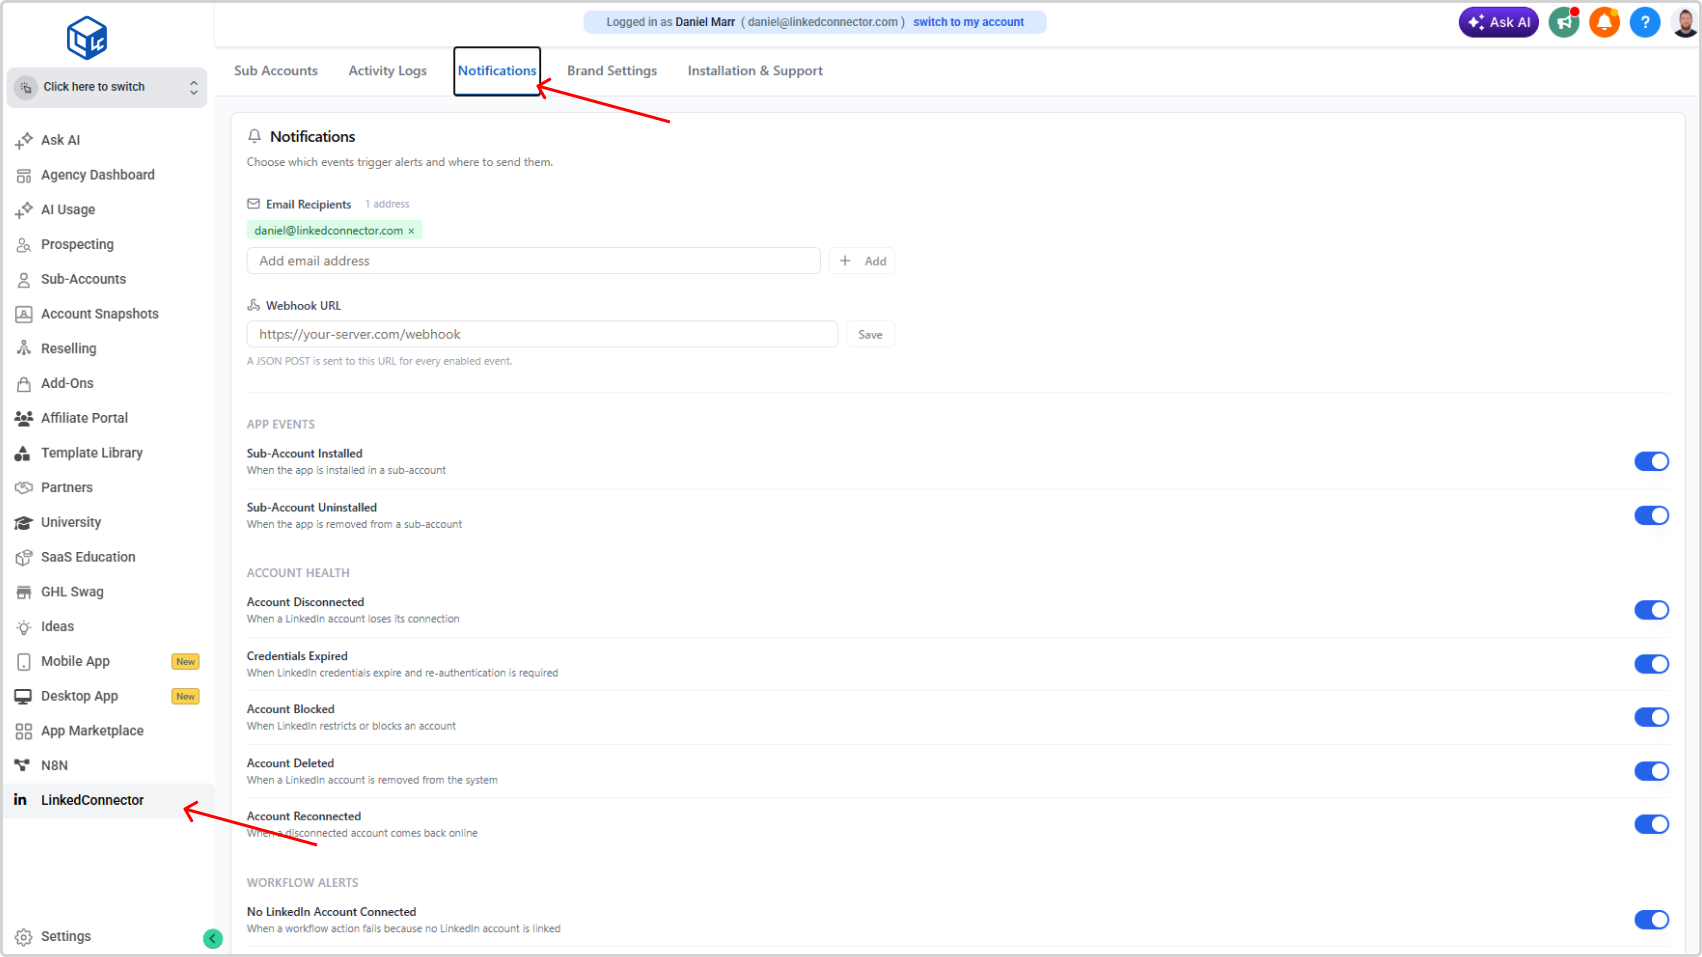
See the Video and Voice Messages documentation for step-by-step setup and usage.